The Black Friday Sale is over, but there are still specials available! I was super excited when the
Harvest 72" #10 was announced on special for $229.00 last Monday. The special is available until Dec 15th, OR WHILE SUPPLIES LAST. I did NOT want to miss out on the chance to finally purchase one of these units so I placed my order last Wednesday. There's still time for you to take advantage of this special yourself - give me a call at 417-886-9489 to place your order as this special is NOT available in
my online store.
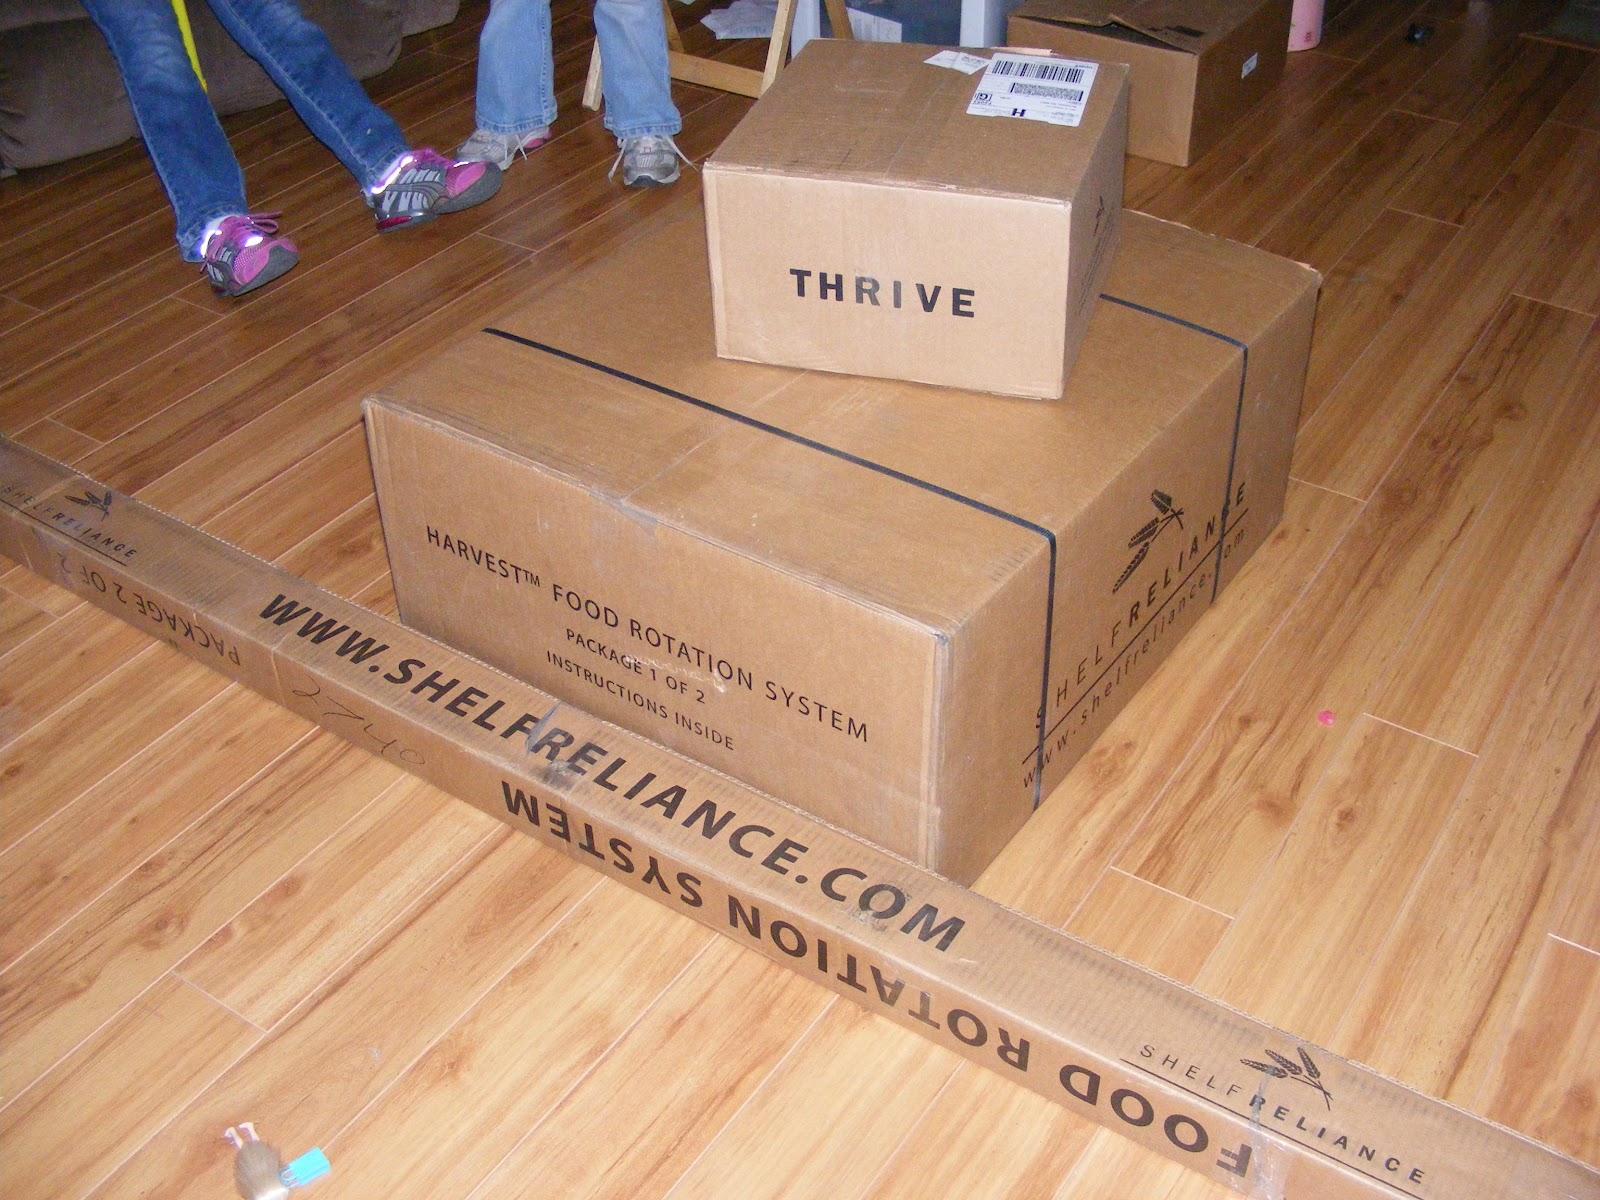
In less than a week (on Tuesday night), FedEx showed up at our door with these 3 boxes. The top box is some THRIVE Foods that I was excited to get (including
THRIVE FD Green Onions which I immediately put to use for the dinner I was already prepping but skipping that ingredient - I'll share about that experience in my next blog post). The other two boxes are my Harvest 72" #10. I had never put one together but wanted to document the assembly process to share with you.
This is the corner of my daughter's bedroom with our previous system. Each of those boxes holds 6 #10 cans. The middle of the shelf holds a variety of THRIVE Foods. It was super hard to find what I was looking for as there was not enough room for me to organize it. And when I wanted something out of one of the boxes, the whole box had to come off the shelf to open it and remove a can. Not something I could send a child to do. My daughter is excited because the Harvest takes up LESS space than the previous shelving!
The first step was to make sure all the parts were included - they were. Next you need a rubber mallet as your only tool, and the instructions. I quickly set off to get started.
I built the basic frame first. My advice to you - read the directions AND follow them. The directions say on the bottom to add the wide bars with the lip on top. I read that and immediately put the lip on the bottom. After having 3 of them in place and struggling with the 4th, I discovered my error and had to take them off. Sometimes the wide beams were difficult to hammer into place but I discovered that that was generally because of the angle I was holding the beam and quickly learned to make sure it was correctly placed. And note that the top front wide beam (it shows the Shelf Reliance logo and brand name) is not in place - that comes later.

Next you add the crossbeams. I was too excited to do much prep work so I counted the holes as I went (the directions tell you which holes to attach the beams to). After I got to the top, my number of holes leftover were off by one on the back and I got to adjust the back ones. My tip - take a piece of masking tape and mark the holes on each corner post where you want to attach a crossbeam. With 5 minutes of prep, it would have saved me several minutes of fixing my error. After you do the crossbeams, add the top front wide beam (with the logo).

Next was installing the can rotators. The first row was hard to figure out and took a little while and reading, and re-reading the instructions and looking at the diagrams. I did figure it out and the rest of the rows went very quickly. Because my Harvest is for all #10 cans, the spacing between was quite easy - they are the full width of the spacers. But I could easily adjust them to be skinnier. The single cans on the 2nd row in the picture are from my testing the tracks to make sure I had the widths correct. A couple times, I discovered that I had put the spacers inside a notch or two rather than the full width - so check EVERY spot before loading up your Harvest. I got so excited I started filling the bottom row before I took a picture.

And here's my completed Harvest 72" #10. Because I do not have large quantities of a single THRIVE Food, but more like 1-2 cans of a large variety of THRIVE Foods, I combined by category - creating a rotation of the vegetables, one of fruit, one dairy (cheese, yogurt bites) and one of meats and beans (includes my
THRIVE Whole Egg Powder). I did have a few cans of Rice leftover so it's in the case just beside the Harvest. As I continue my Q (monthly shipments of THRIVE Foods), I look forward to needing a 2nd Harvest and not being able to have a rotation by category because I have tons of food stored for my family.
One surprise was how easy it was to move the Harvest around before I added my food. And if I had only stored freeze dried and dehydrated foods, I could still move it around; but 28 cans of rice are heavy so it's more difficult to move around.
Issues
It's not really an issue with the Harvest - but you don't want to put open cans in the rotation because once you pull it out, you only want to put things in at the top of it's rotation. If you try to put it back in from the bottom, you can cause your cans to jam up in the rotation. So I did not put any of my open cans in the Harvest.
My second issue is that I can't use the Harvest as is for boxes of cereal, cake mix, etc.
Solutions
There are solutions for both of my dilemmas. The solutions require additional expenditures which my budget wasn't prepared for last week. I'll be slowly acquiring them, making the Harvest even more awesome!
For the open cans, I will be getting the
Harvest #10 Front Shelf for $12.99 each or the
4 Pack for $42.24. These let me store the open can in front of it's corresponding unopened cans.
For the non-can storage, I'll be getting the
Side Shelf Four Pack for $38.99. As the name implies, you get 4 shelves in the pack. You can install all 4 on one side, or some on one side and some on the other.
I also will be getting the
Top Shelf for Harvest for $19.49. It allows me to store things on top of the Harvest.
There are several other
accessories that I can get for my Harvest but I'll save those to share another day. In the meantime, I'll be enjoy being able to send my children in to get a can of rice,
THRIVE FD Green Beans, or whatever I need - because now they can!

![I'm THRIV[E]-ing](https://blogger.googleusercontent.com/img/b/R29vZ2xl/AVvXsEh1qmqosaawYjPYTMmcKvDH9wKOO4mEQalcgEM-eSUXQOZMCi-B_-ox8kjfYOvO83nEG1_3dybIhC3sDQibDrnSVd6i1ETV5xhzEem6x506H9uUKoyvFLfolS_iNLR8bvfs-thncRpfMg0U/s1600/Blog+Header+with+thrive-foods.jpg)


0 comments:
Post a Comment